Using fastgeoapi from QGIS
Put a protected fastgeoapi on a QGIS map: the same dataset once as features and once as vector tiles, both behind an OAuth2 token that QGIS obtains and renews by itself. The walkthrough uses the public demo and takes about ten minutes.
You need a recent QGIS with the built-in OAuth2 authentication method and its Client Credentials grant. The configuration below was verified with QGIS 4.2: loaded into its authentication store, it fetched the demo's landing page, a page of features and a vector tile through QGIS's own network stack, and the same requests without it were refused with 401.
What the demo expects
The demo protects everything under /geoapi with a JSON Web Token issued by its identity provider. A token is accepted when three things hold: the signature verifies against the provider's keys, the issuer is https://76hxgq.logto.app/oidc, and the audience is https://fastgeoapi.fly.dev/geoapi/. How the token was obtained does not matter to the server.
For this tutorial the demo publishes a machine client. Its id and secret are the ones behind the Authorization: Basic header in Getting started, which is the one place they are published; decode that header to read them. They are demo credentials, scoped to the demo API, and nothing else accepts them.
| Setting | Value |
|---|---|
| Token URL | https://76hxgq.logto.app/oidc/token |
| Grant | Client Credentials |
| Client ID | from Getting started |
| Client secret | from Getting started |
| Scope | openid profile ci |
| Extra parameter | resource=https://fastgeoapi.fly.dev/geoapi/ |
The last line is the one people forget. The audience of a Logto token comes from the resource parameter of the token request (RFC 8707); without it the token is perfectly valid and the demo still answers 401, because the aud claim is missing.
Step 1: an authentication configuration
QGIS keeps credentials in its own encrypted store and attaches them to connections by reference, so the token never appears in a project file.
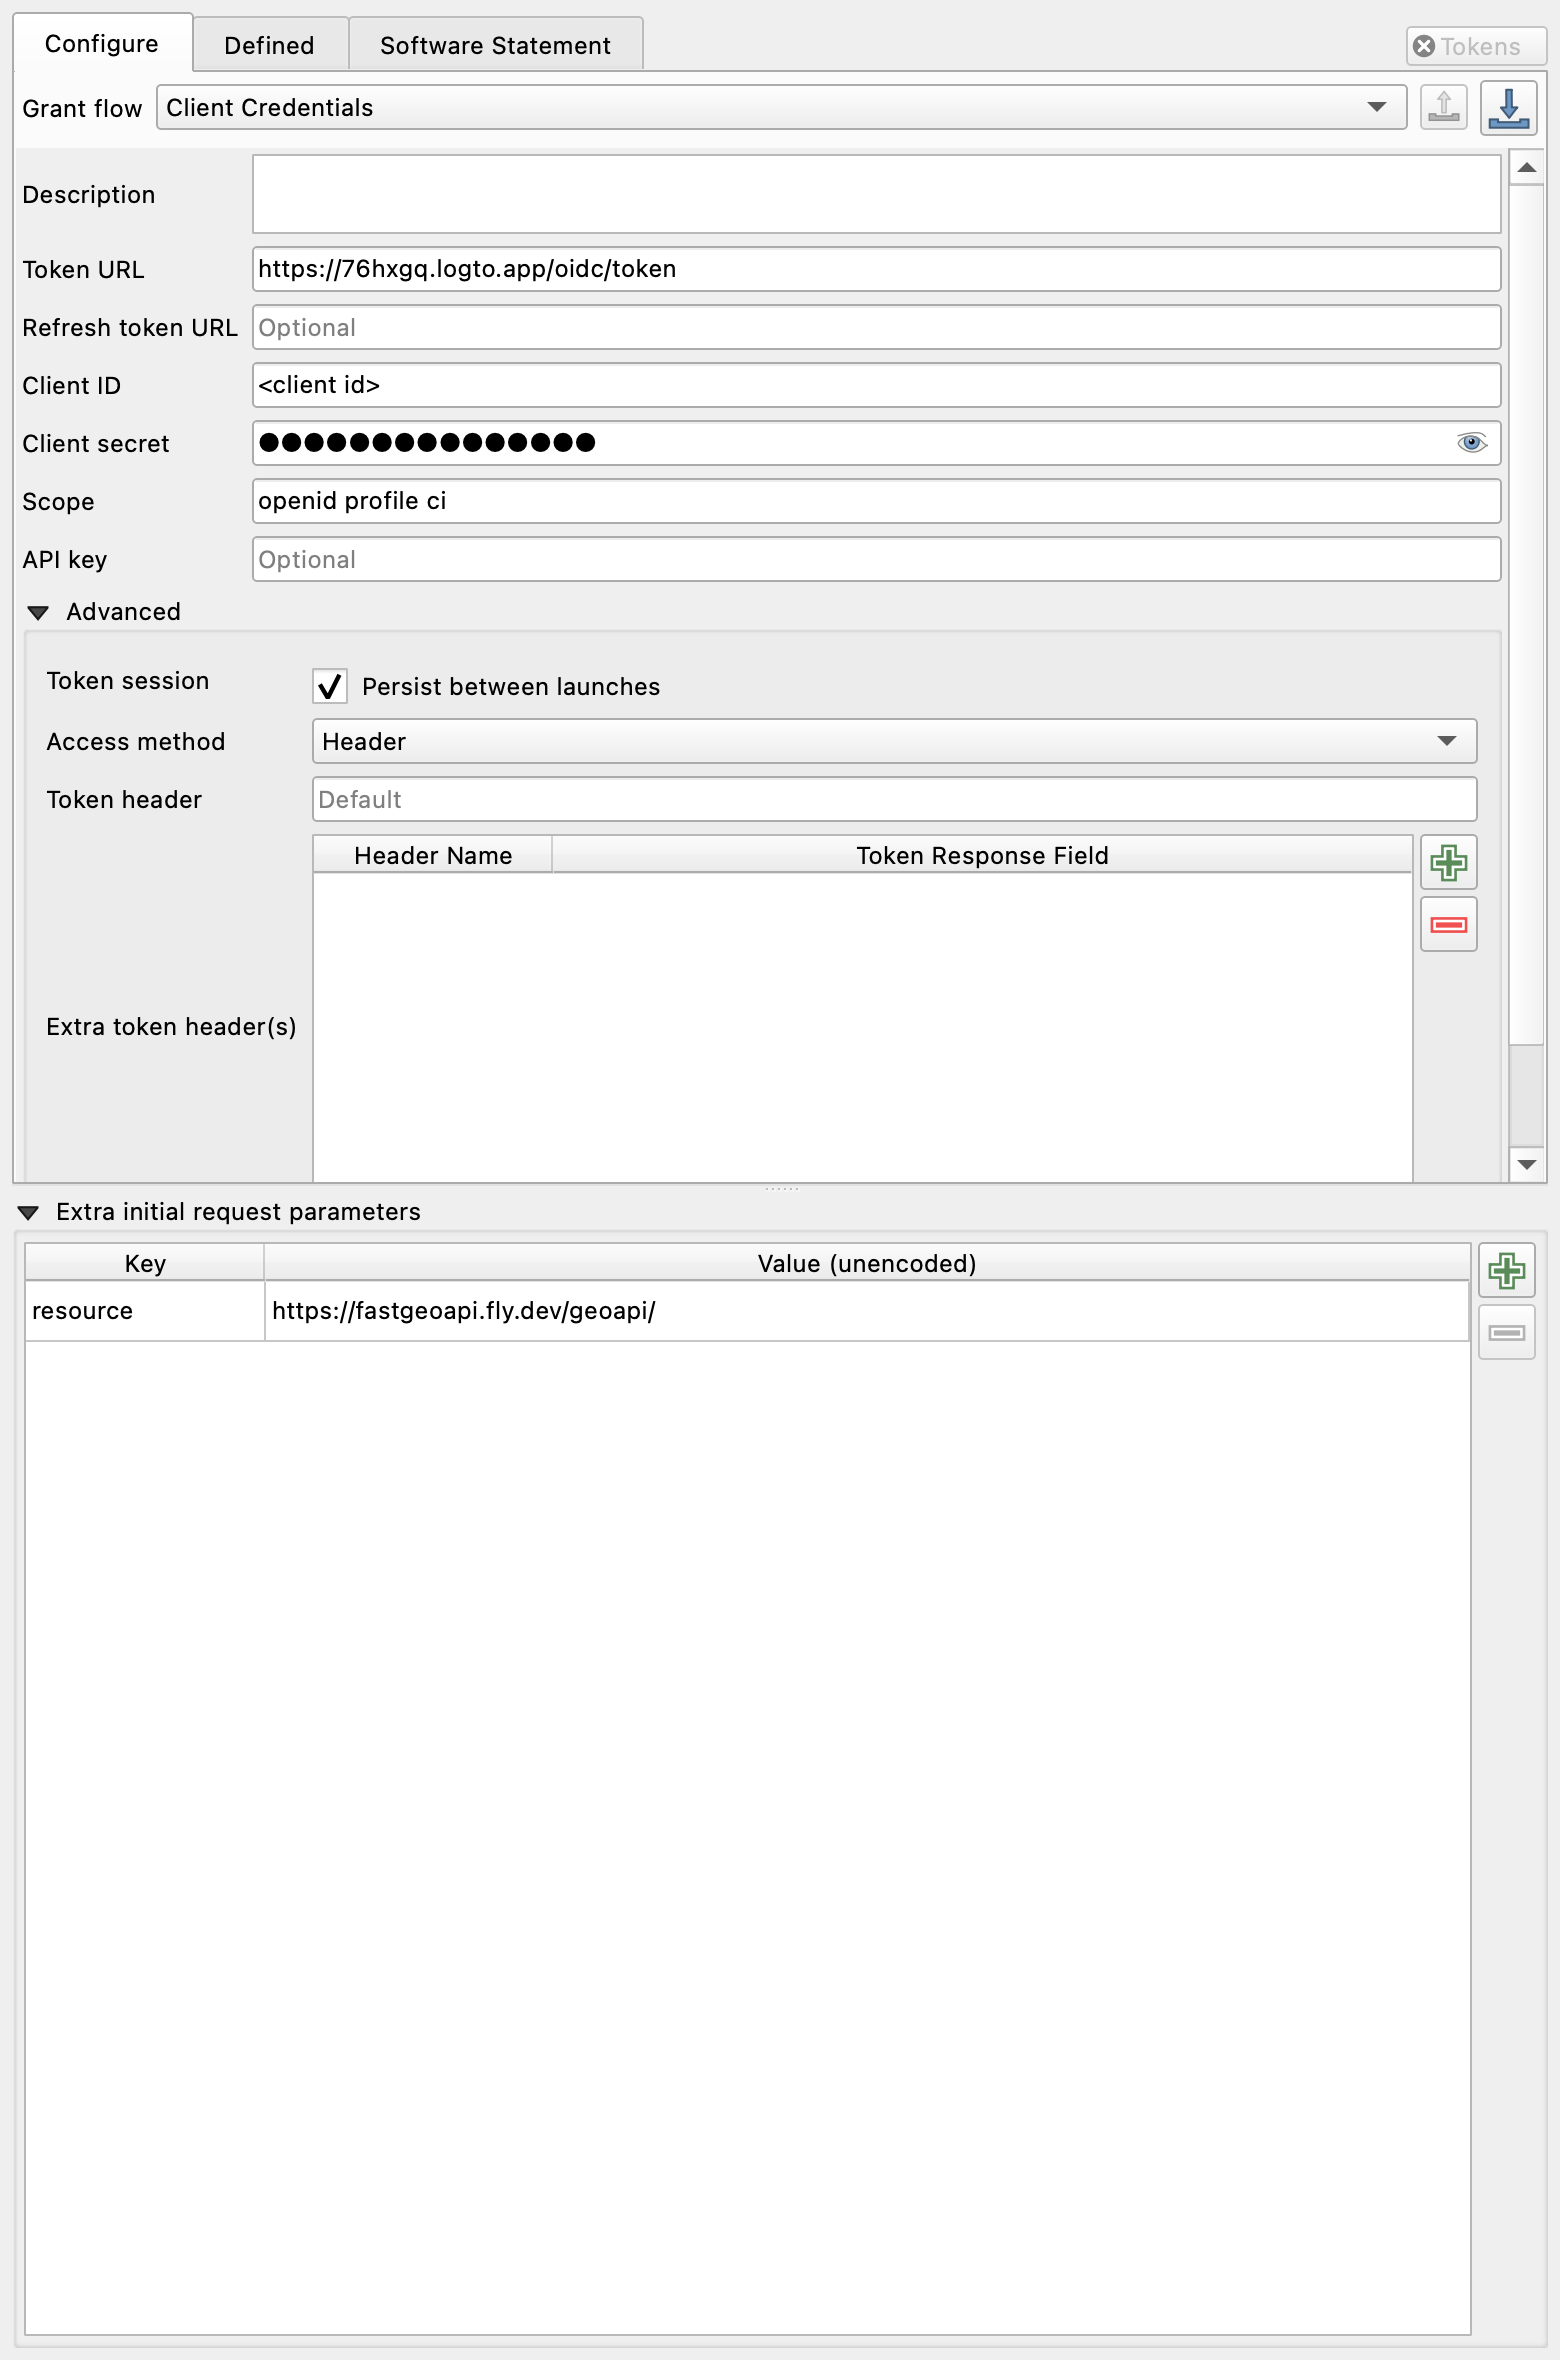
- Open Settings ▸ Options ▸ Authentication. The first time, QGIS asks you to set a master password for the store.
- Click Add and fill in:
- Name:
fastgeoapi demo - Authentication type: OAuth2 authentication
- Grant flow: Client Credentials
- Token URL, Client ID, Client Secret and Scope from the table above
- under the query parameters of the request, one pair:
resource=https://fastgeoapi.fly.dev/geoapi/ - tick Persist between launches, so the token survives a restart
- Save.
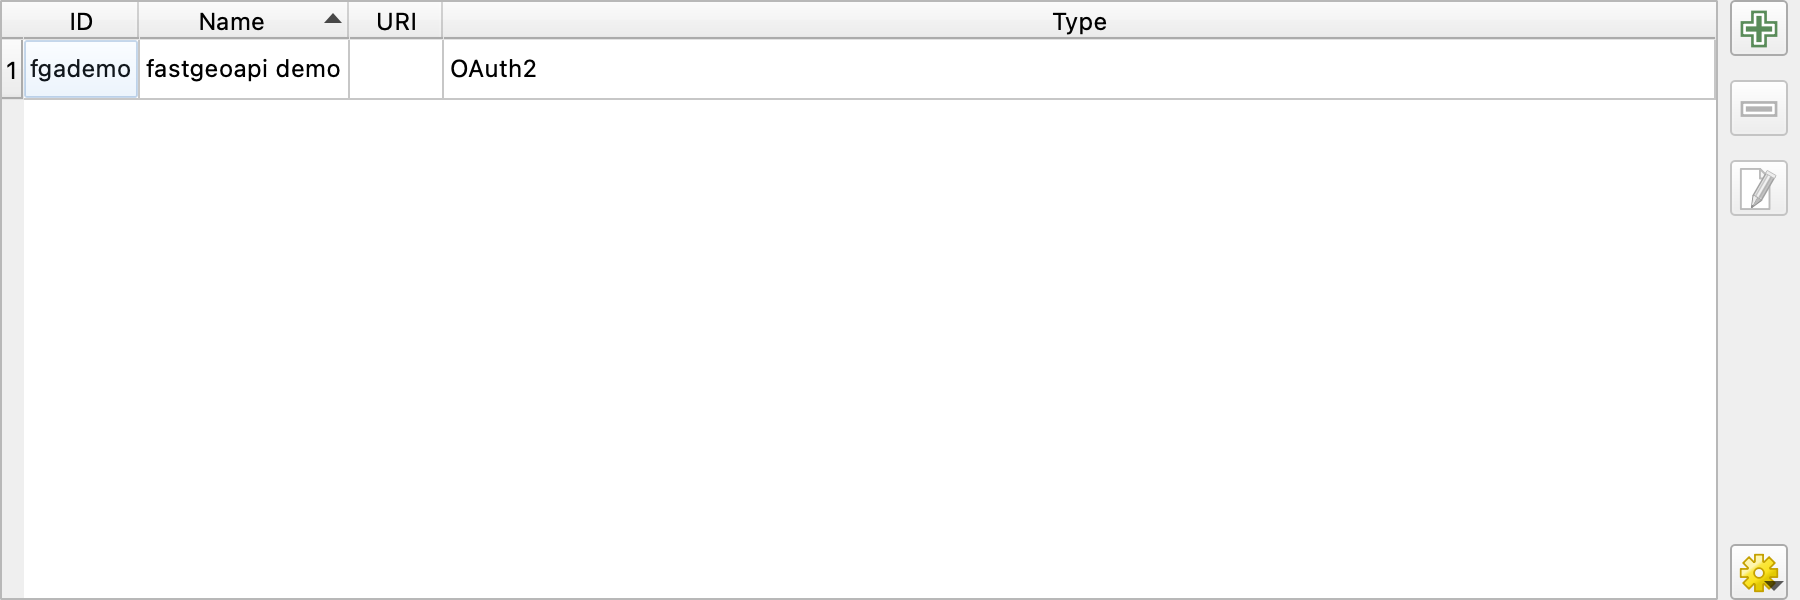
The configuration then appears in the list under Settings ▸ Options ▸ Authentication, with the short id QGIS uses to refer to it:
The dialog can also load the same configuration from a file. This is what it contains, in the format the OAuth2 method reads and writes:
{
  "version": 1,
  "configType": 1,
  "grantFlow": 4,
  "accessMethod": 0,
  "name": "fastgeoapi demo",
  "tokenUrl": "https://76hxgq.logto.app/oidc/token",
  "clientId": "<client id>",
  "clientSecret": "<client secret>",
  "scope": "openid profile ci",
  "queryPairs": { "resource": "https://fastgeoapi.fly.dev/geoapi/" },
  "persistToken": true,
  "requestTimeout": 30
}
grantFlow: 4 is Client Credentials and accessMethod: 0 sends the token as an Authorization: Bearer header, which is what fastgeoapi reads.
Step 2: the features
- Open Layer ▸ Data Source Manager ▸ WFS / OGC API - Features and click New.
- Name:
fastgeoapi demo. URL: the landing page,https://fastgeoapi.fly.dev/geoapi. For OGC API - Features the URL is the landing page, not aGetCapabilities. - Version: OGC API - Features, or click Detect.
- In the Authentication section choose the configuration from step 1, then OK.
- Connect. The collections appear: pick
lazio-roads, tick Only request features overlapping the view extent, and Add.
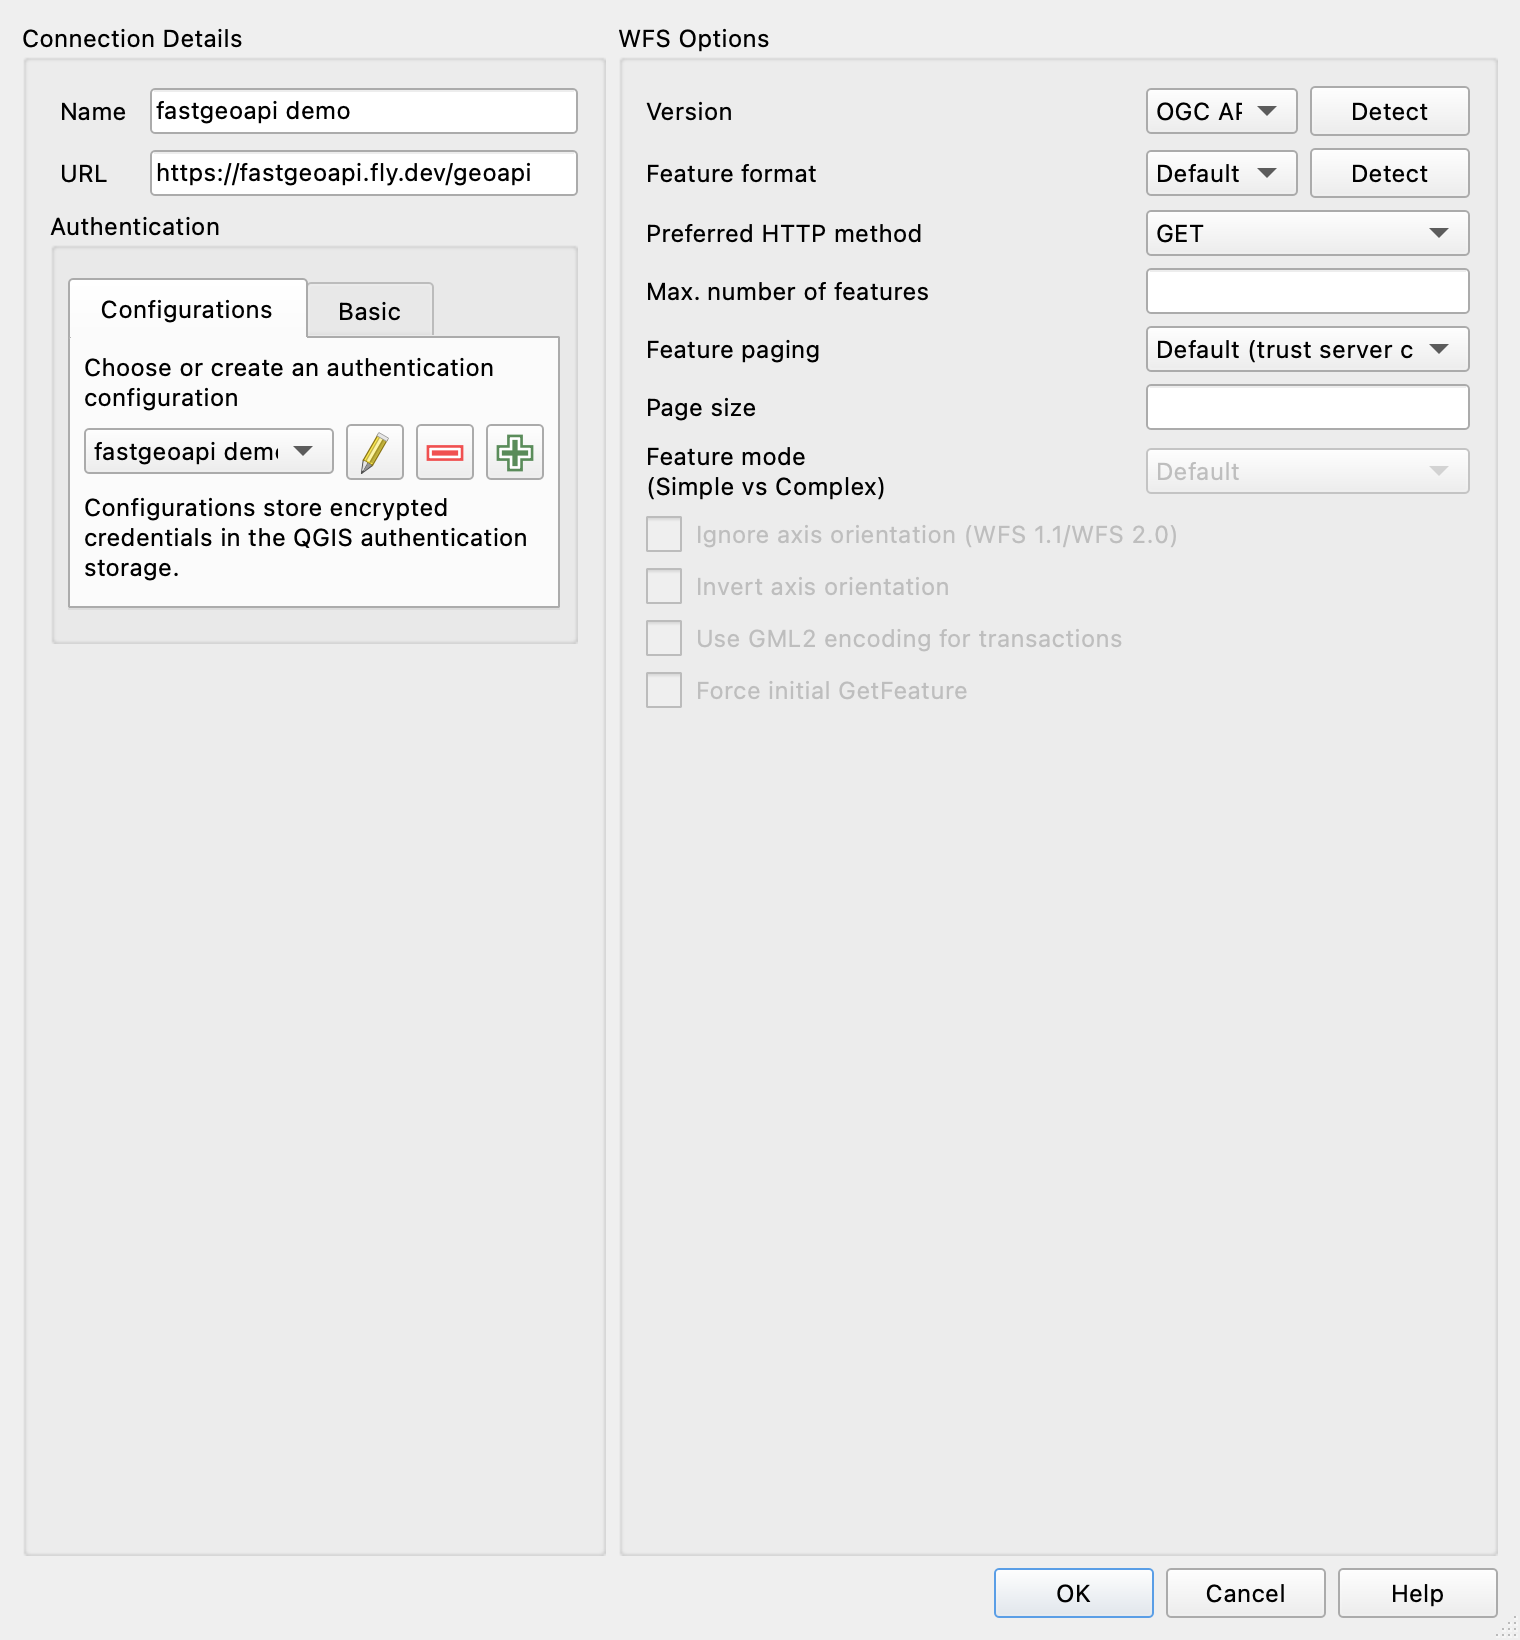
Zoom to Rome. QGIS asks the server for the features in view, a page at a time, and every request carries a token it obtained from Logto on your behalf. When the token expires, an hour later, QGIS requests a new one without asking you anything.
The view-extent option is not cosmetic here: lazio-roads is 743,000 road segments, and the server caps a page at 50 features. Without it QGIS would page through the whole collection.
Step 3: the same roads as vector tiles
- Data Source Manager ▸ Vector Tile ▸ New ▸ New Generic Connection.
- Name:
Lazio roads (tiles). URL:
https://fastgeoapi.fly.dev/geoapi/collections/lazio-roads-tiles/tiles/WebMercatorQuad/{z}/{y}/{x}?f=pbf
- Min. zoom level
0, Max. zoom level13. - Authentication: the same configuration. OK, then Add.
Two details of that URL are pygeoapi's rather than QGIS's. The row comes before the column, so the template is {z}/{y}/{x} and not the {z}/{x}/{y} most servers use. And f=pbf is required: without it the server answers 400. Both come straight from the tileset's own metadata, which also tells you the zoom range:
https://fastgeoapi.fly.dev/geoapi/collections/lazio-roads-tiles/tiles/WebMercatorQuad/metadata?f=tilejson
QGIS gives the layer a default style; the layer inside the tiles is called roads, and the attributes are class, subclass, subtype and name, if you want to style by road class.
This is the result, rendered by QGIS through the same configuration: the vector tiles in grey underneath, and on top the main roads from the features layer in orange, picked by a renderer rule on class.
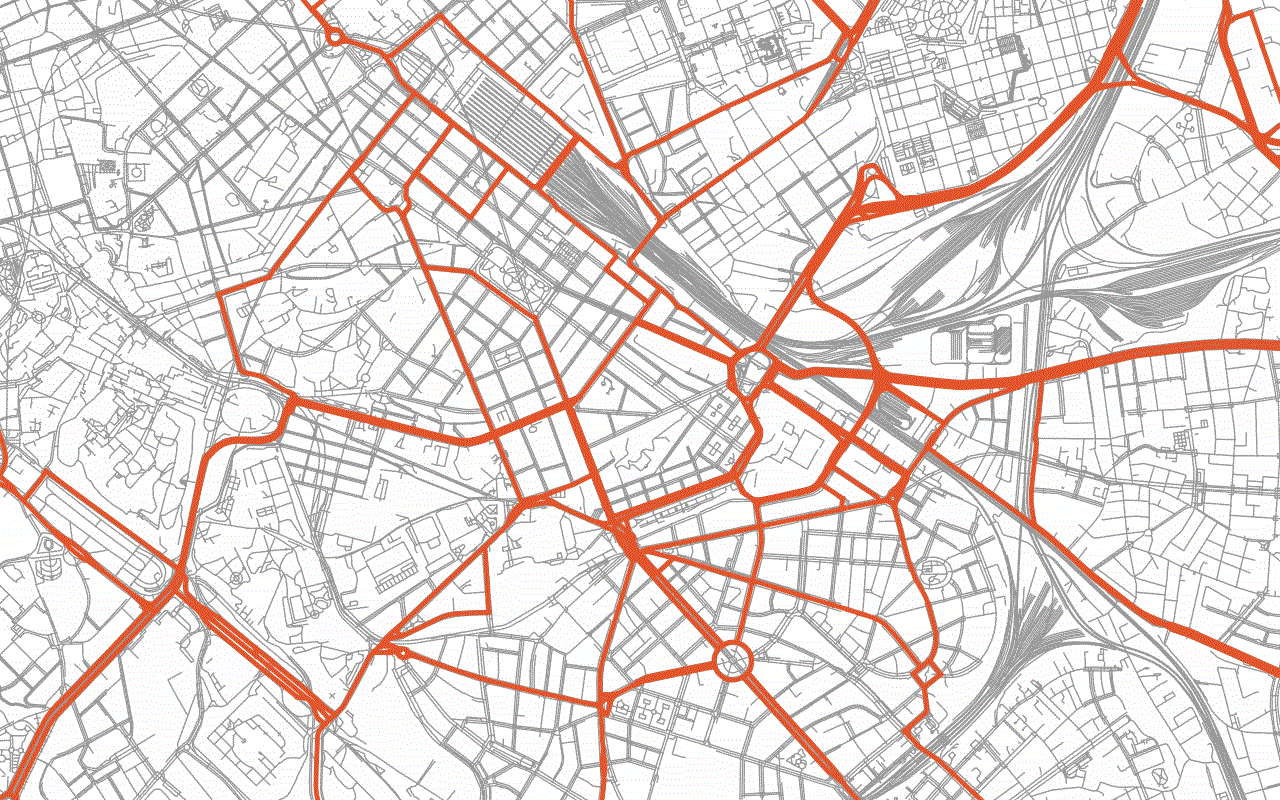
The screenshots on this page are produced by QGIS itself, headless, by scripts/qgis_tutorial_screenshots.py in the repository, from the same values quoted here.
What is happening underneath
Every request QGIS makes to the demo carries Authorization: Bearer with a token from Logto. To obtain it, QGIS posts the client id and secret, the scope and the resource parameter to the token URL, and Logto answers with a JWT valid for an hour whose aud is the demo's API. fastgeoapi verifies the signature against Logto's published keys, checks issuer and audience, and lets the request through to pygeoapi. The client-credentials grant has no refresh token, so when the token expires QGIS simply repeats the request.
This is the same token you would obtain with curl in Getting started; QGIS just does it for you and keeps the secret in its store.
Variants
A deployment behind an API key. Use the API Header authentication method instead, with one header: X-API-KEY and the key. Everything else in steps 2 and 3 is identical.
A token you already hold. The API Header method works for that too, with Authorization as the header and Bearer <token> as the value. It stops working when the token expires, which is why the OAuth2 method is worth the extra minute.
Signing in as a person. The OAuth2 method also offers the Authorization Code and PKCE grants, which open your browser for a login and then continue exactly as above; QGIS listens on http://127.0.0.1:7070/ for the callback by default. fastgeoapi needs nothing more for that, since it validates the token and not the flow. What it takes is an application registered at the identity provider that allows that redirect URI and access to the API; the demo does not publish one today.
A layer filter stays on your machine
QGIS can push a layer filter (Set Filter, or a subset string) to an OGC API - Features server as a CQL2 expression, but only when the server's conformance declaration lists the Part 3 filter classes. pygeoapi answers CQL2 filters and lists cql2-text, yet it does not declare ogcapi-features-3/1.0/conf/filter and conf/features-filter, so QGIS decides the server cannot filter and a Set Filter on the layer produces an empty layer without a single request. Filter on the client instead: a rule-based renderer with "class" IN ('primary', 'secondary') draws the main roads from what the view extent fetched, and that is how the map above was made.
When something does not work
| Symptom | Cause and remedy |
|---|---|
401 on every request, token obtained | The resource parameter is missing, so the token has no audience. Add the query pair and clear the token. |
401 and no token | Client id, secret or token URL wrong. Test the token request with curl as in Getting started. |
Tiles answer 400 | f=pbf missing from the URL template. |
| Tile layer empty at some zooms | Outside the archive's zoom range: lazio-roads-tiles holds 0–13, overture-places-tiles only 14. |
| First features request takes many seconds | overture-places is read across an ocean; lazio-roads sits next to the server. See the GeoParquet guide. |